To create an order, the shop will do 2 steps:
- Create a store. This step takes place when:
- Shop has no store information.
- Shop needs to add a new store.
- Create bulk orders. Make an Excel menu.
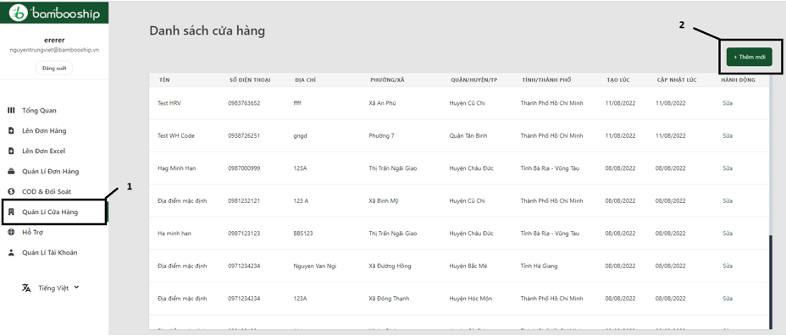
I. CREATE A STORE, Shop proceeds with the following steps:
Step 1: Go to Store Management.
Step 2: Select Add New.
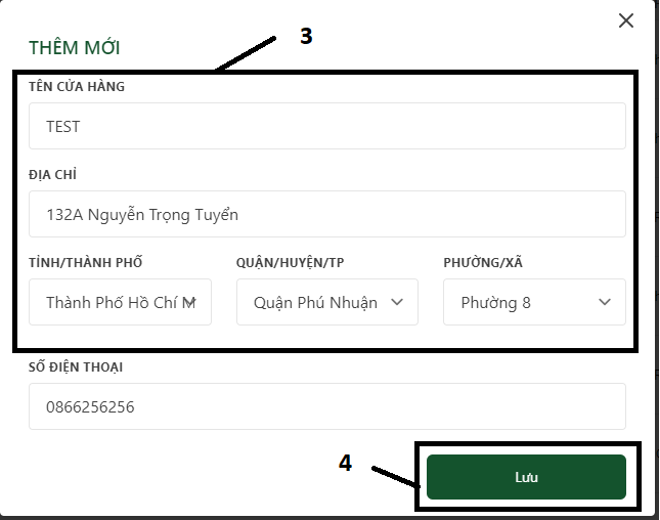
Step 3: Fill in the store’s name, address, contact SDT.
Step 4: Click Save.
II. CREATE ORDER IN BULK, Shop uses the Excel Order Up feature:
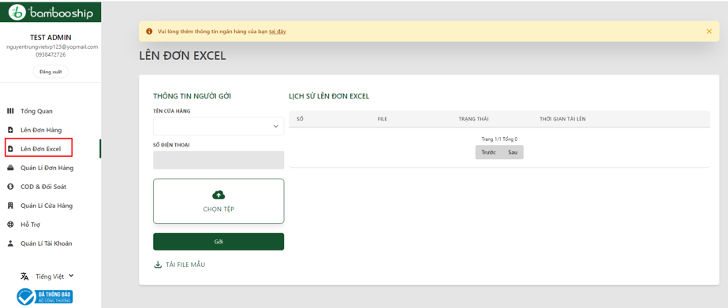
Step 1: Download the excel file to your computer and fill in the information.
Note when filling excel file:
- Order Codes, Carton Numbers: No need to fill in, only applicable to the case of 1 order with many packages.
- Package Code: Shop can enter the Shop’s order code, or leave it blank, the system will automatically generate the code.
- The remaining information such as Description, Quantity, …. Similar to manual creation.

Step 2: Select the store corresponding to the order in excel.
Step 3: Select the filled out excel file.
Step 4: Click send.

Step 5: After the system uploads the order, the window switches to the results tab.
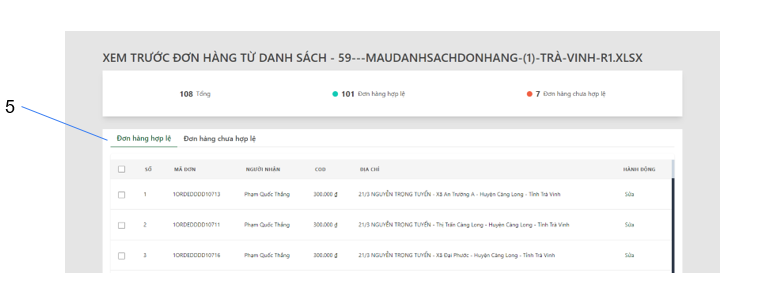
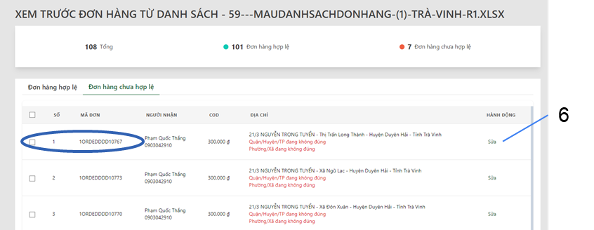
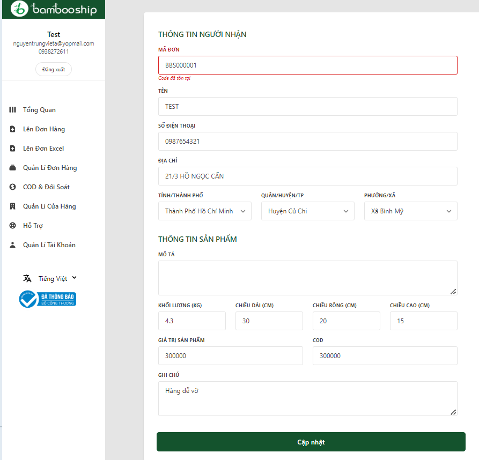
Step 6: Edit the list of failed orders until successful (optional).
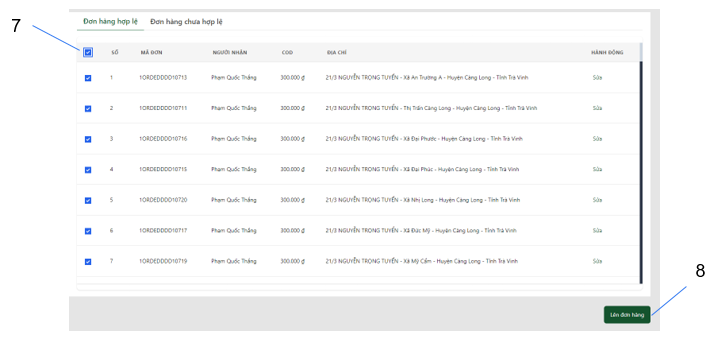
Step 7: Select a list of successful orders to create an order
Step 8: Click on Order.
Step 9: Receive the message “Created a successful application”.

NOTE:
- All orders are currently Unchecked.
- Converted weight: the weight used to calculate the service fee, by comparing the actual weight with the converted weight (Length x Width x Height (cm) / 6000).
- Shipping fee : of the order based on the information entered.
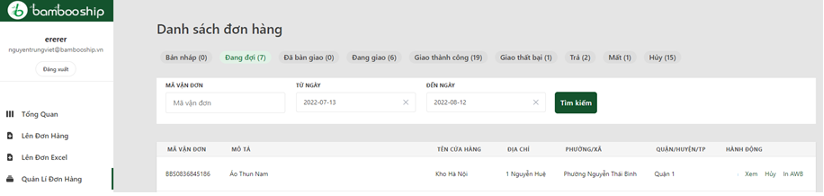
III. INITIAL ORDER PROCESSING
After creating a successful order, the window automatically switches to Order management.
Main feature:
- View: review order details.
- Cancel: Cancel the order.
- Print AWB: print the bill of lading code of the order.
NOTE:
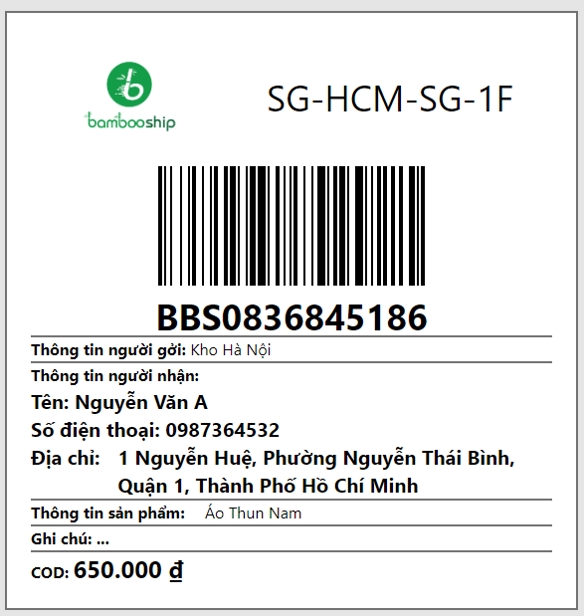
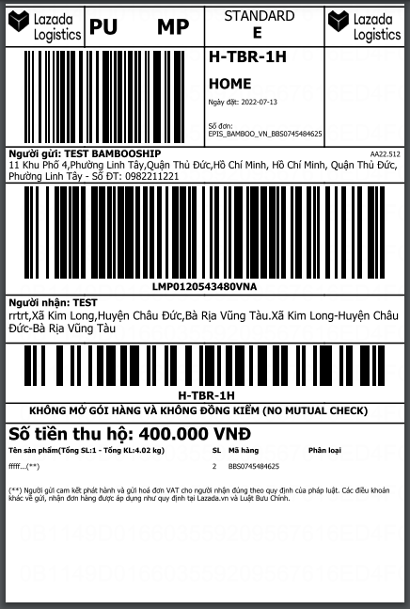
- All orders must be AWB stamped before Shipper picks up.
- When Shop proceeds to print AWB, there will be 2 samples as follows:
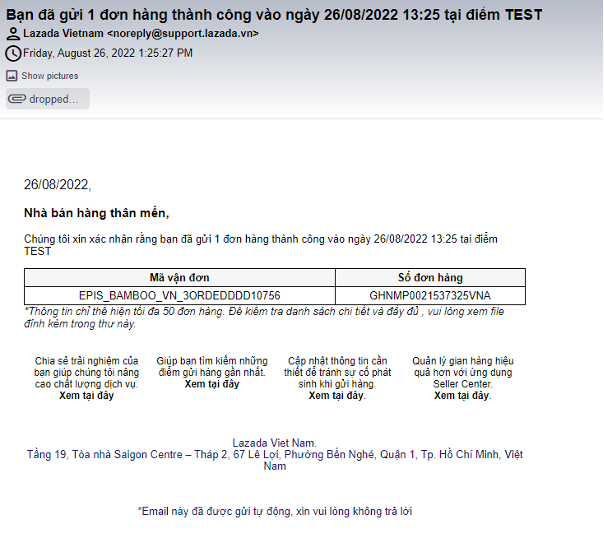
After successful collection, an Email will be sent to the shop as sample: